
Tuesday, May 22, 2012
First ever ATC


Saturday, May 19, 2012
Glimmer Misted Paper Flowers

Materials: Prima Got Flowers? (Winter) and Tattered Angels Glimmer Mist kits (Adventure and Garden Bouquet)
Wednesday, May 16, 2012
Easy to Make Cards

So after cleaning my desk, the very first thing I made was handmade cards. I have long been wanting to work on these after being inspired by cards that I've seen in magazines and on youtube. And I have to make a special mention: Kristina Werner's cards are awesome (http://www.kwernerdesign.com/blog/). Her cards are really pretty and simple, and the way she makes them in her videos is simply inspiring. Though these cards I made were actually inspired by an insert in a Scrapbooks etc magazine that I got last year. It's a special on cards: 12 cards for any occasion, and I just wanted to do something quick and easy. Although these were in no way quick since I had to cut out the flower and star shapes. Sadly, I have to work some more on my scissor skills, but I'm pretty pleased with the results.

Tools & Supplies: cardstock, patterned paper , ribbon, brads, and letter stickers (All About Scrapbooking), ink (Craft Smart and Fiskars), alphabet stamps (Making Memories), corner rounder (EK Success)
Monday, May 14, 2012
This Desk Is Clean

The first thing I did was grab most of my work stuff and place them (temporarily) in the living room. So there are now four boxes and stacks of paper and books sitting on the big bench there. I've left some of the bigger books to occupy the right half of the bookshelf above my desk area. Most of the media stuff I've left untouched so far, since I still haven't figured out where to store them. As for the crafting tools and supplies, I've sorted most of them out. I just have a few boxes/baskets separated from the rest of it because they're for projects that have yet to be finished. In fact, I just finished one mini-album yesterday (yay!) so that's one less project to tackle. I still have a looong way to go. So I can't post a picture of the rest of the room yet as it still is a disaster. But I'm definitely looking forward to when this will all be done and I can reap the benefits of an organized space that I can relax or work in.
And that I can mess up again. :-p
Sunday, May 13, 2012
The Flowers of May

Friday, April 20, 2012
Now I know my ABC's
I worked on this project early in February as a birthday gift to the sweet little girl of a friend from work. Due to the busy work sched, I was unable to make it in time for her birthday, but I heard that she liked it. She especially liked touching it, which was so gratifying for me because I specifically picked all the different elements for their textures. The bright pink post-its are placeholders for the family members' photos: "N" for Nanay (mom), "T" for both Tatay (dad) and Tala (the birthday girl's name, and such a pretty one at that). I really had fun with this one and was glad that it can be easily finished in one weekend: one day to choose what goes into it (as I have a lot of stuff that needs sorting through and putting away) and another to put everything together. Here's the finished project:

This was actually inspired by this project on scrapbooksetc.com:

...which I thought would be a great handmade gift for a baby/toddler. The only difference probably is that mine was made to be touched, instead of being just on display. I hope the glue holds up :). Good thing that I used DCWV Adhesive Paper Prints for all the patterned paper, just needed to be cut into squares and then it sticks readily to the canvas base. Alphabet stickers and many of the other shapes from All About Scrapbooking, the rest are from Craft World, Darice, K&Company, Making Memories, Michael's, Papermelroti, and Yellow Violet House.

This was actually inspired by this project on scrapbooksetc.com:

...which I thought would be a great handmade gift for a baby/toddler. The only difference probably is that mine was made to be touched, instead of being just on display. I hope the glue holds up :). Good thing that I used DCWV Adhesive Paper Prints for all the patterned paper, just needed to be cut into squares and then it sticks readily to the canvas base. Alphabet stickers and many of the other shapes from All About Scrapbooking, the rest are from Craft World, Darice, K&Company, Making Memories, Michael's, Papermelroti, and Yellow Violet House.
Thursday, April 19, 2012
Back to blogging again
Instead of dwelling on how long it is since I've posted anything here (a little more than a year and a half), I will just dive right into it. Since the past school year (plus the months leading up to it) have been incredibly busy, there really hasn't been much room for creativity so I'm determined to be crafty this summer break.
I've already worked on a couple of projects:
Crafty Summer Project #1: Altered pencil (or paint brush) holder
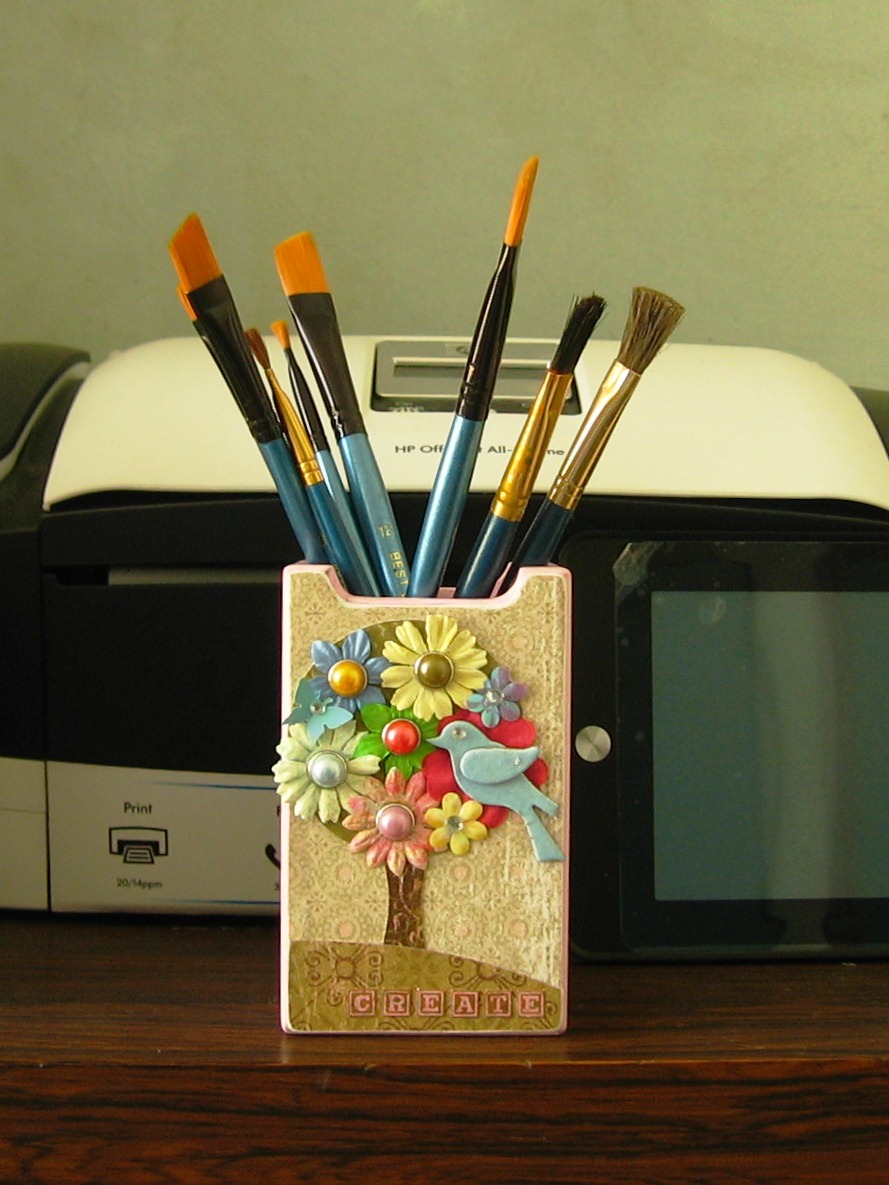
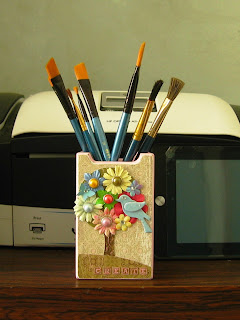 This was a gift given to me some Christmases ago. Sorry I forgot to take a before picture. But it's the same baby pink shade with one side painted and glittered in a sort of psychedelic retro design. I wanted to recycle and maybe re-gift it and the design was actually inspired by a stationery pad I got from Papemelroti.
 I love the tree and the little bird perched on it. The chipboard one I had was not-so-little, but I guess it's okay since the flowers were just as big and bold.
Crafty Summer Project #2: Blinged-out pencil holder
I love the tree and the little bird perched on it. The chipboard one I had was not-so-little, but I guess it's okay since the flowers were just as big and bold.
Crafty Summer Project #2: Blinged-out pencil holder
 [As viewed from the front]
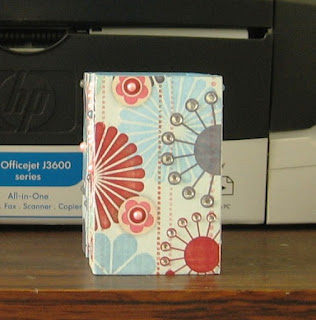 [As viewed from the side]
I had another pencil holder I wanted to recycle. It was painted with paw prints on the sides and the front was embellished with flowers and lady bugs. So I just covered it with pretty patterned paper and put bling wherever I can. I seem to be obsessed with it lately and I might've gone overboard here. Hahah. But I'm actually happy with it.
[As viewed from the side]
I had another pencil holder I wanted to recycle. It was painted with paw prints on the sides and the front was embellished with flowers and lady bugs. So I just covered it with pretty patterned paper and put bling wherever I can. I seem to be obsessed with it lately and I might've gone overboard here. Hahah. But I'm actually happy with it.


Subscribe to:
Posts (Atom)